JavaScript <canvas> to (Animated) GIF 23 July 2010
%20GIF/converted_animation.gif)
%20GIF/raw_canvas.png)
I’ve tried this before but it didn’t work. <canvas> can’t do toDataURL('image/gif'), and the primitive GLIF library couldn’t do much so I never had the opportunity to test my gif-merging code that I had. But I’m at it again, this time, porting it from the AS3GIF library, an awesomely comprehensive bitmap to binary gif encoder that even supports LZW compression (and the patent has luckily expired. Yay!). AS3Gif is supposed to “play and encode animated GIFs”, but since web pages can usually natively play GIFs fine, it’s only a port of the GIFEncoder portions of the library. And it works really well. The rest of this post is copied from the Github readme. Interesting how the w2_embed/anonybot embed post was a blog post turned into readme, this is a readme turned into blogpost. I’ll start with a link to the Github repo anyway:
http://github.com/antimatter15/jsgif
Basic Usage
Since it pretty much is GIFEncoder, you could consult the as3gif how-to page
But there are some differences so I’ll cover it here anyway.!
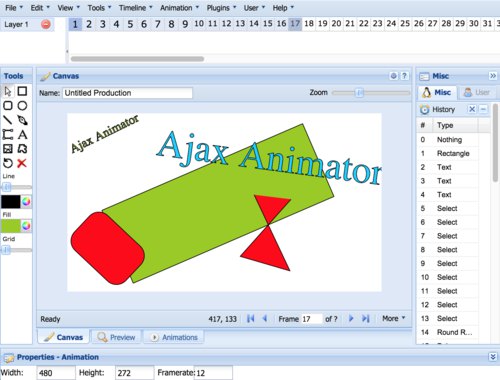
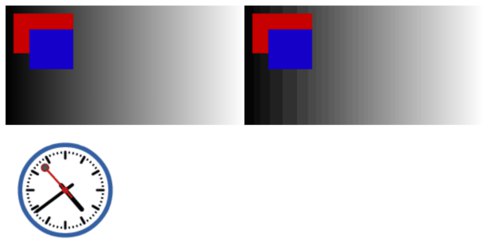
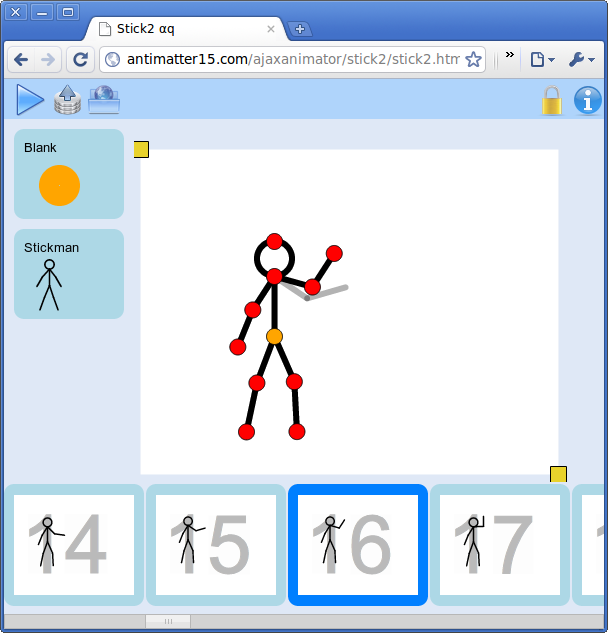
This is the GIF which was generated from the canvas.
You first need to include the JS files. It’s probably best if you include it in this order, but it shouldnt’ matter too much.
<script type="text/javascript" src="LZWEncoder.js"></script>
<script type="text/javascript" src="NeuQuant.js"></script>
<script type="text/javascript" src="GIFEncoder.js"></script>
If you want to render the gif through an inline <img> tag or try to save to disk or send to server or anything that requires conversion into a non-binary string form, you should probably include b64.js too.
<script type="text/javascript" src="b64.js"></script>
Simple enough right? Now to convert stuff to GIF, you need to have a working or at least some imageData-esque array.
<canvas id="bitmap"></canvas>
<script>
  var canvas = document.getElementById('bitmap');
  var context = canvas.getContext('2d');
  context.fillStyle = 'rgb(255,255,255)';
  context.fillRect(0,0,canvas.width, canvas.height); //GIF can't do transparent so do white
  context.fillStyle = "rgb(200,0,0)";
  context.fillRect (10, 10, 75, 50); //draw a little red box
Now we need to init the GIFEncoder.
var encoder = new GIFEncoder();
If you are making an animated gif, you need to add the following
encoder.setRepeat(0); //0 -> loop forever //1+ -> loop n times then stop
encoder.setDelay(500); //go to next frame every n milliseconds
Now, you need to tell the magical thing that you’re gonna start inserting frames (even if it’s only one).
encoder.start();
And for the part that took the longest to port: adding a real frame. encoder.addFrame(context);
In the GIFEncoder version, it accepts a Bitmap. Well, that doesn’t exist in Javascript (natively, anyway) so instead, I use what I feel is a decent analogue: the canvas context. However, if you’re in a situation where you don’t have a real <canvas> element. That’s okay. You can set the second parameter to true and pass a imageData.data-esque array as your first argument. So in other words, you can do encoder.addFrame(fake_imageData, true)as an alternative. However, you must do an encoder.setSize(width, height); before you do any of the addFrames if you pass a imageData.data-like array. If you pass a canvas context, then that’s all okay, because it will automagically do a setSize with the canvas width/height stuff.
Now the last part is to finalize the animation and get it for display.
encoder.finish();
var binary_gif = encoder.stream().getData() //notice this is different from the as3gif package!
var data_url = 'data:image/gif;base64,'+encode64(binary_gif);
Docs
Each of the files exposes a single global (see, at least it’s considerate!). But since there’s three files, that means that there’s three globals. But two of them are more of supporting libraries that I don’t totally understand or care about enough to document. So I’m just gonna document GIFEncoder.
new GIFEncoder() This is super parent function. You really don’t need the new keyword because It’s not really even using any special inheritance pattern. It’s a closure that does some var blah = exports.blah = function blah(){ for no good reason. Anyway, it returns an object with a bunch of methods that the section will be devoted to documenting. Note that I’ve never tested more than half of these, so good luck.
Boolean start() This writes the GIF Header and returns false if it fails.
Boolean addFrame(CanvasRenderingContext2D context) This is the magical magic behind everything. This adds a frame.
Boolean addFrame(CanvasPixelArray image, true) This is the magical magic behind everything. This adds a frame. This time you need
you pass true as the second argument and then magic strikes and it loads your canvas pixel array (which can be a real array, I dont care and I think the program has learned from my constant apathy to also not care). But note that if you do, you must first manually call
setSize which is happily defined just below this one.
void setSize(width, height) Sets the canvas size. It’s supposed to be private, but I’m exposing it anyway. Gets called automagically as the size of the first frame if you don’t do that crappy hacky imageData.data hack.
void setDelay(int milliseconds) the number of milliseconds to wait on each frame
void setDispose(int code) Sets the GIF frame disposal code for the last added frame and any subsequent frames. Default is 0 if no transparent color has been set, otherwise 2. I have no clue what this means so I just copypasted
it from the actionscript docs.
void setFrameRate(Number fps) Sets frame rate in frames per second. Equivalent to setDelay(1000/fps). I think that’s stupid.
void setQuality(int quality) Sets quality of color quantization (conversion of images to the maximum 256 colors allowed by the GIF specification). Lower values (minimum = 1) produce better colors, but slow processing significantly. 10 is the default, and produces good color mapping at reasonable speeds. Values greater than 20 do not yield significant improvements in speed. BLAH BLAH BLAH. Whatever
void setRepeat(int iter) Sets the number of times the set of GIF frames should be played. Default is 1; 0 means play indefinitely. Must be invoked before the first image is added.
void setTransparent(Number color) Sets the transparent color for the last added frame and any subsequent frames. Since all colors are subject to modification in the quantization process, the color in the final palette for each frame closest to the given color becomes the transparent color for that frame. May be set to null to indicate no transparent color.
ByteArray finish() Adds final trailer to the GIF stream, if you don’t call the finish method the GIF stream will not be valid.
String stream() Yay the only function that returns a non void/boolean. It’s the magical stream function which should have been a getter which JS does support but I didnt’ feel like making it a getter because getters are so weird and inconsistent. Like sure there’s the nice pretty get thing but I think IE9/8 doesn’t implement it because it’s non standard or something and replaced it with a hideously ugly blah blah. So Anyway, it’s a function. It returns a byteArray with three writeByte functions that you wouldn’t care about and a getData() function which returns a binary string with the GIF. There’s also a .bin attribute which contains an array with the binary stuff that I don’t care about.
WebWorkers
The process isn’t really the fastest thing ever, so you should use WebWorkers for piecing together animations more than a few frames long. You can find the rest of the WebWorkers section on the actual readme, because the rest is just a huge block of code with comments.
